
⚠ IMPORTANT: This repo is updated daily, things can be removed / changed anytime - This text will be gone when I got things sorted and misspellings and other small things will be corrected during time, At bottom you will find the "proper" way how things should be done. I do not recommend anyone to use my methods wich is tagged (DANGEROUS METHOD) if you do not know exactly what you are doing! I really mean what I say, your computer will probably die and never be able to start again. No harm has been done on HP's property!
⚠ WARNING: YOUR COMPUTER WILL BE BRICKED - THERE IS NO GUARANTEES !! The author/developer in this repo can never be held responsible for the actions of other users and I have warned you! If the computer is dead, you cant fix it without replacing the the motherboard. The chip alone is not enough. Call HP for assistance if you don't know how to solve it yourself, you may brick your warranty by follow this repo!
⚠ DANGER: This repo can contain illegal acts depending on the country you live in. It is strictly forbidden and it can end with high penalties such as imprisonment for fraudulent behavior. You are responsible for your own actions and you can never ever blame wuseman for your acts. Manipulating data of various things to deceive a third party by selling a computer where hardware figures are manipulated and false warranty can be presented is a very serious crime, in almost all countries.. I urge no one to commit crimes, I dedicate this repo to everyone as a non-profit hacker/cracker of software and hardware devices to show how you are deceived by advertising.
Please watch the video above to follow the story I will do overtime in this repo
"Hackers are also working from home, isn't it time you had a security that does too? "
- "What It Really Takes to Catch a Hacker | HP"
- "HP WOLF Security: The hacker is always on THE HUNT"
- "THE WORLD'S MOST SECURE AND MANAGEABLE WORKTATIONS"
- "PROTECT SENSITIVE DATA AND IP, WITH HARDWARE-ENFORCED SECURITY"
- "Sure Start Protects the Bios"
- While in the case of WIPER of ransomware attacks or hadware attacks. Sure Recovery provices fast, effective recovery"
....... it never ends, it's crazy they talk so much and provide 0 proofs, 0!!!......
My banner is from by HP and the hoodie guy is what HP refers to the "bad guys" and they are the wolves ..

.. Then we should be we able to hack the Bios within seconds ....... is my first thought?
"They laught at me because i'm different. I laught at them becuase they all are the same with economic interests." / Edited quote, from Joker!
HP: My first bios I managed to hack was from Compaq and since that day when I was 6 years old I have followed your developers for over 30 years now. We do not have to guess, we know how good your employees are from asia with extremely small salaries while you pull in billions on misleading and false advertising. Who are the "bad guys" in your ads? We'll see. This repo will be updated frequently and recurring as you develop your security.
My first thought that appeared immediately was, if I short circuit the chip it will (please notice healing) heal itself not recover/restore itself, healing is an unusual word in these terms. I decide to belive my thoughts and the results can be found below .
Sounds crazy? Maybe.. Not for me.. I love to try crazy things which should be "impossible". I have strangely enough succeeded with many crazy and wierd "hacks" of all kind that should not be possible BUT I will not lie for anyone, I have also failed a lot before I got older and wiser. These are things I will talk about that when I retire, until then I will continue to do everything in my power to try to hack time to count backwards. =)
Visit Rod Smiths wiki for get a deeper knowledge, its an awesome wiki imo and cover everything that is worth to know imo even for none refind users:
https://www.rodsbooks.com/refind/installing.html

Before you will try anything I wanna tell you that you are able to bypass the secure boot protection if you have some linux skills. Windows setups can be installed always since the certs are from microsoft, ubuntu and kubuntu I know have preinstalled shim installed.
This will fix this so we can boot Gentoo Minimal CD because with secureboot enable you gonna be stopped by the picture as above that says "image did not authenticate".
- BACKUP THE KEYS FROM OLDER INSTALL BEFORE YOU DOING ANYTHING STUPID AS ERASE OR RESE THE KEYS
* sys-boot/mokutil
     Available versions:  (~)0.3.0_p20170405 (~)0.5.0-r1
     Homepage:            https://github.com/lcp/mokutil
     Description:         The utility to manipulate machines owner keys which managed in shim
* sys-boot/shim
Available versions: 15.5-r1
Homepage: https://apps.fedoraproject.org/packages/shim/
Description: Fedora's signed UEFI shimInstall shim and mokutil, no useflags are available so we just installing them as usual, you also gonna need openssl since we need this for create keys and also ca-certificates for the certs but they are probably already installed but if not:
emerge -av sys-boot/mokutil sys-boot/shim app-misc/ca-certificates dev-lib/opensslmokutil --list-enrolled
[key 1]
SHA1 Fingerprint:....
...
[key 2]
SHA1 Fingerprint:....mokutil --list-newmokutil --sb-statemokutil --exportThe above command will give you .der keys in the folder you execute the command, files is named: MOK-00**.der, save all those files in some encrypted container or at least secure place (security is always nr1, encrypt everything) before you deleting them and adding new ones!
mokutil --delete MOK*.dersudo mokutil --root-pw- ....or a custom password
sudo mokutil --password
input password:
input password again: - Rebooted and answer the questions (comming soon more detailed) and see if the keys has been deleted ;)
Enjoy the removal of the old keys! You are l33t!
Verify that MOK is enabled. Use the following commands on the target to enable or disable MOK:
mokutil --enable-validation
mokutil --disable-validation
You use this password to manage keys using mokutil and to confirm their enrollment and other operations when the MOK manager is running. In addition to console input, mokutil supports other methods to input the password.
Convert a standard PEM key to a DER-formatted X509 certificate for shim_cert.cer and vendor_cert.cer.
openssl x509 -in shim_cert.crt -inform PEM -out shim_cert.cer -outform DER
openssl x509 -in vendor_cert.crt -inform PEM -out vendor_cert.cer -outform DERmokutil --import shim_cert.cer
You must set up the password for this MoK manipulation request, as this password is required by the shim loader in the next reboot.
Use the following command to verify whether a key is active already or not:
mokutil --test-key shim_cert.cermokutil --test-key vendor_cert.cerSince the vendor_cert.cer key is the built-in certificate in the boot loader, is is enrolled during the first boot. Use the following command to list the current key enrollment requests:
mokutil --list-new
[key 1]
SHA1 Fingerprint: .........
Certificate:
    Data:
        Version: 3 (0x2)
Serial Number:Once the target reboots, the Shim UEFI Key Management screen is displayed where you are given below options
-
Press: Continue boot
-
Press: Enroll MOK, choose yes!

- Enroll key from disk
- Enroll hash from disk

- Enroll your keys and enter password. Enjoy
Some pictures of things that failed / appeared when I played with this. There is no explanation but just sharing them for fun.

There is alot of people trying this already since the protection has been very good (Started with Probooks), but no public releases for the latest HP devices has been found. Good question below and good answer was provided on the url below, it simply depends! Again, be careful
"Long story short when testing some IC chips in circuit and powered on I must have touched a couple legs at once causing a chip to short. My quick question, is this damage usually contained just to the chip itself or does it spread to surrounding resistors and capacitors etc.? No smoke or burnt components or anything like that."
Q: Is this damage usually contained just to the chip itself or does it spread to surrounding resistors and capacitors etc?
A: It Depends....
It's a very hard question to answer, really. Hack to learn not learn to hack and you will figure out ;)
IC Chip short circuit repercussions
Born On Date................: `2022-03-01`
Secured by latest features..: `yes`
Bios Chip...................: `25B127DSIG`
BiosProgrammer..............: `CH341a`
Require Bios Programmer.....: `no`
Level of difficulty.........: `simple`

* Tools Recommended:

   Microscope so you can watch the legs so you are not shortcuits the wrong one by mistake

* Tools Required..............:

  1x Phillips screwdriver
  1x Tiny wire (I used 2 mini grabbers for safety)
G5 has extra features then older elitebooks for bios password. It is possible to set security settings to "Ignore" the cmos jumper and reset reset button if pressed on motherboard. If the setting is set to IGNORE you are fucked, you will NOT not succeed in getting around without programmers. so if you try on this unit and do not understand why it does not work, it is precisely because it can ignore this that many other Elitedesk can NOT.
The clip is easy to find, its under the below nvme disk (if you have two) and you can read the chip via a Soic Clip 8


THIS WILL BRICK YOUR PC - DO IT ON YOUR OWN RISK!! PLEASE NOTICE THE LEGS 1, 7, 8 are from my PICTURE, NOT FROM THE DATASHEET!!!
-
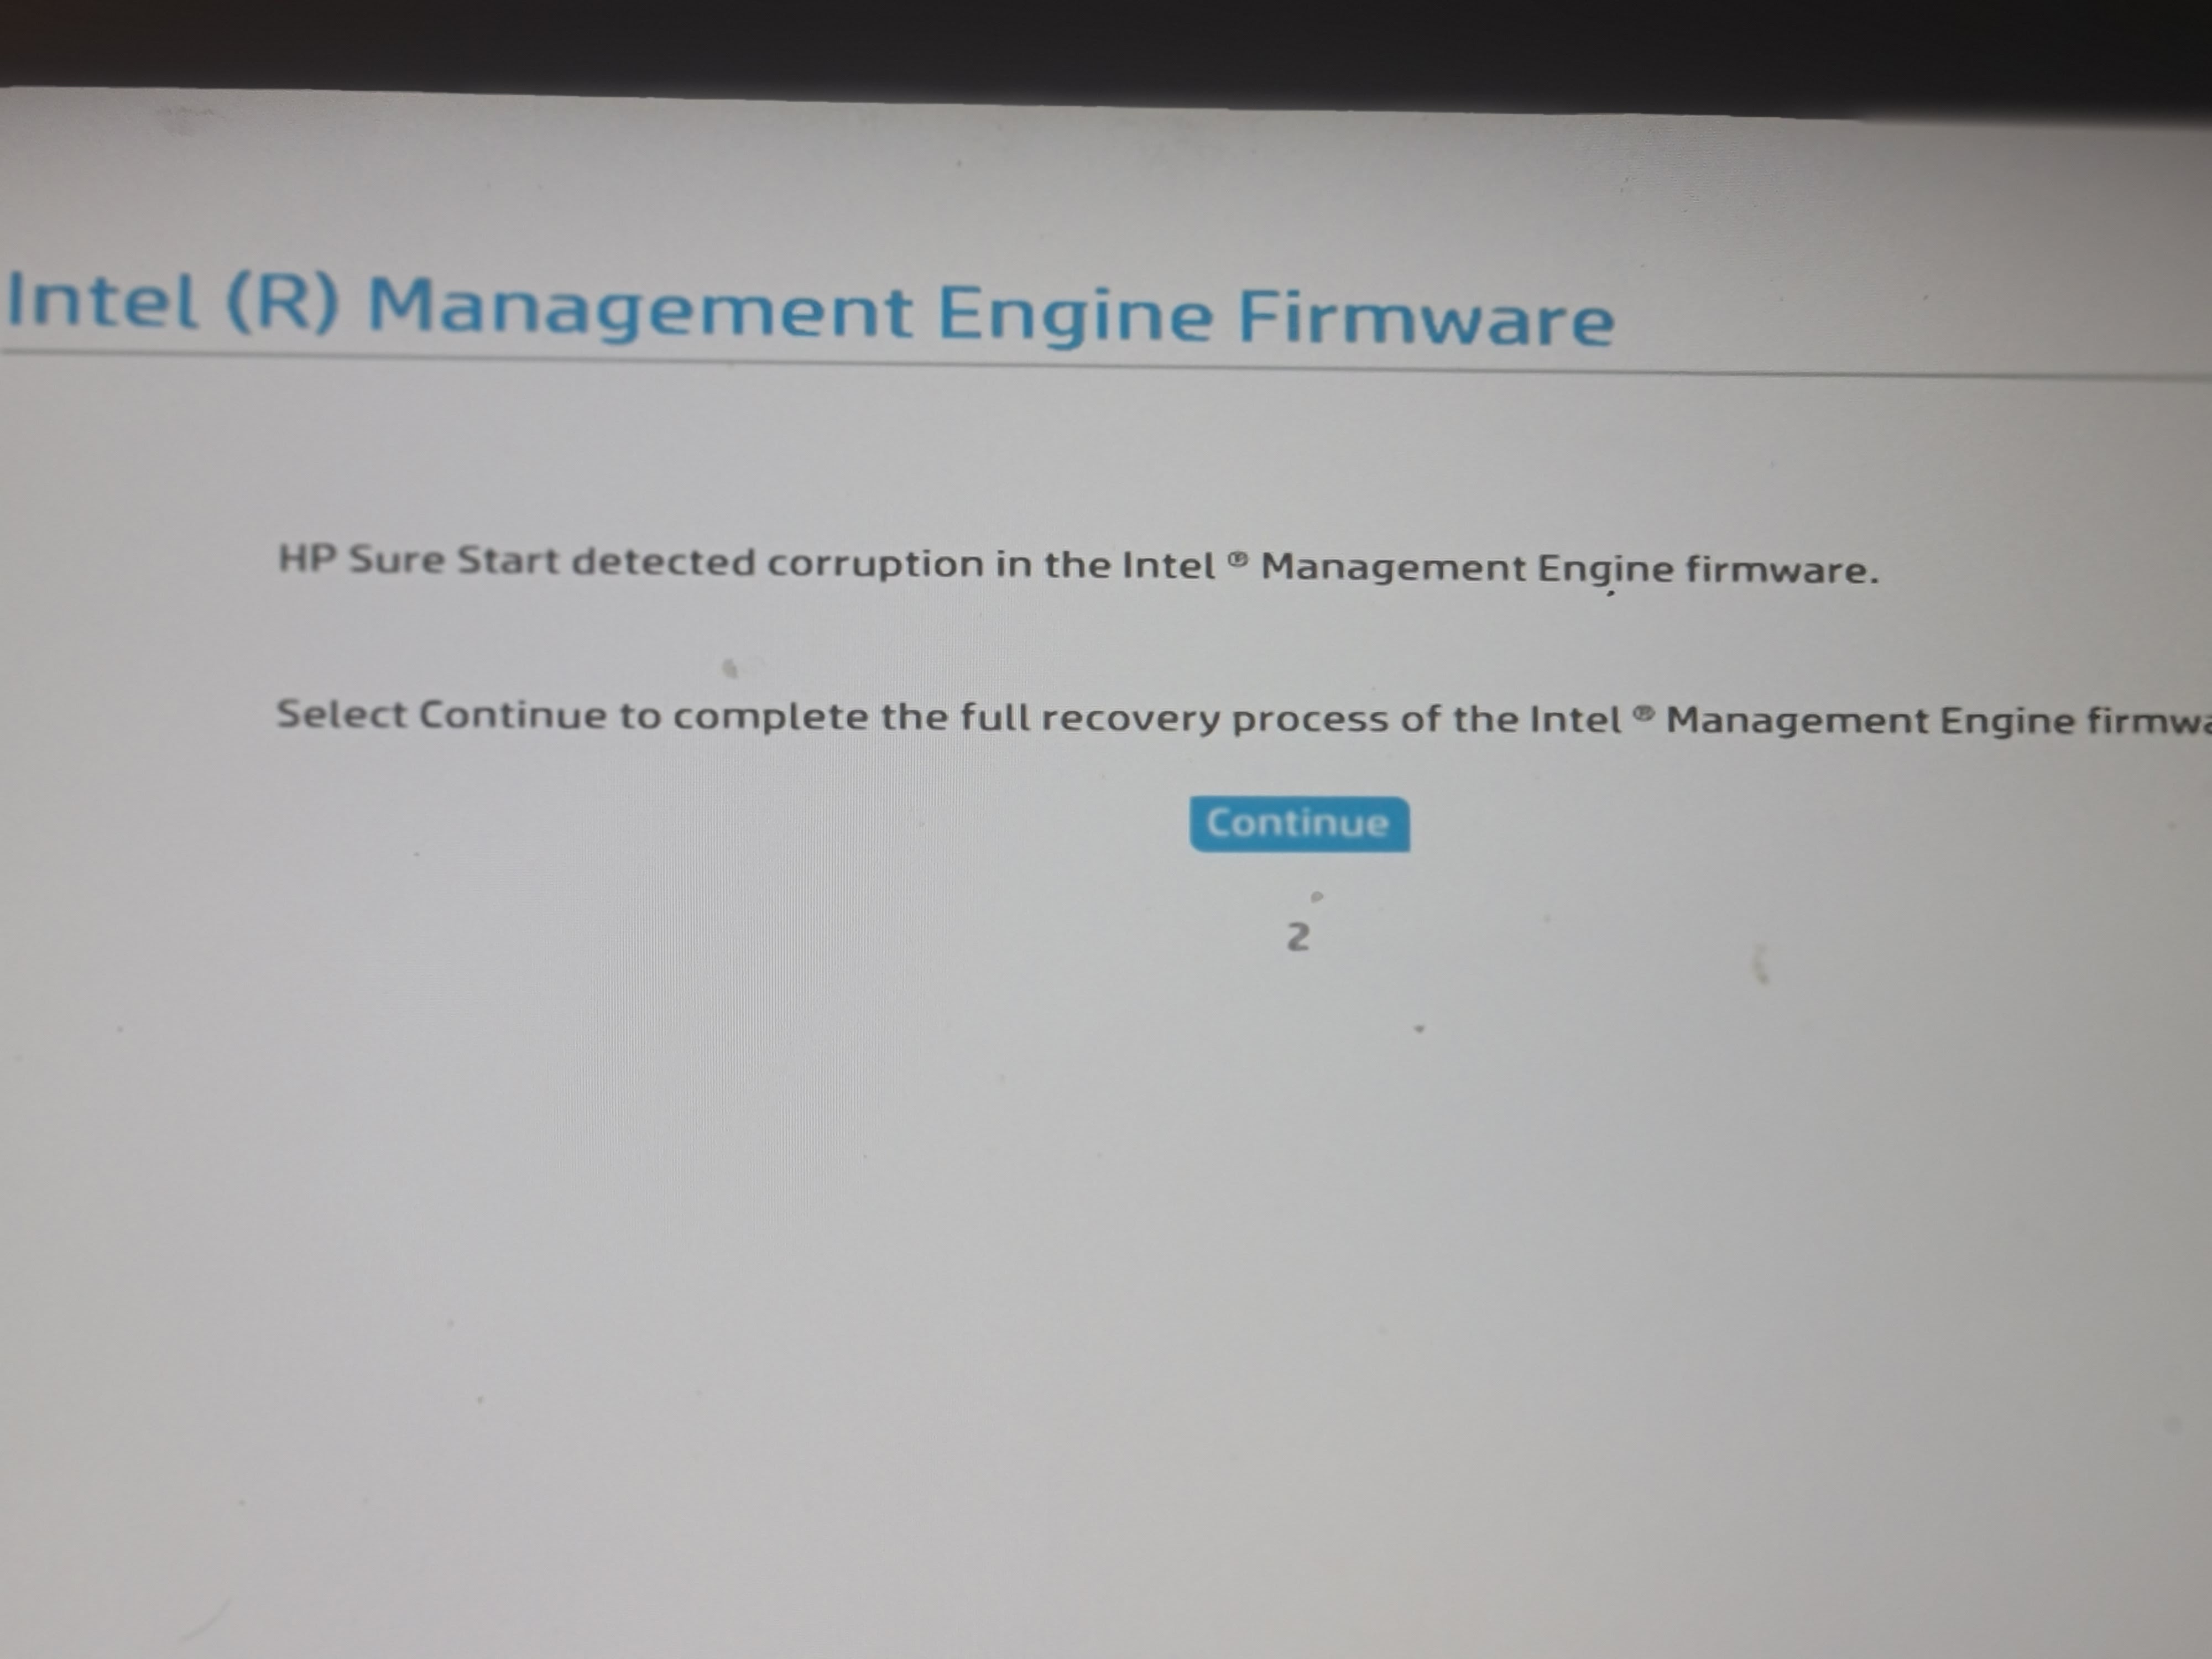
A wire on pin 1 and 7 for ~1.2s erased Intel Firmware
-
A wire on pin 1 and 8 for ~1.0s bios noticed something happend and restore itself
-
A wire on leg 1 and 8 for ~3.0s erased Bios Password

Impressive, I was wrong about all this, well well. After 1 touch on pin 1 and 8 (notice just a touch like in 0.1ms) we gonna see below

-
I still don't trust their shit so before I saying I was wrong and they won, I try 2. seconds!
-
Since ages back in the days for some reason I know 4.2 seconds will brick the device if we touch the pins. And this is something I just has figured out on many devices, I can't confirm or promise it will work the same for you so dont listen on this if you didnt try and then cry in pm to me
-
I tried to hold a wire on leg 1 and leg 8, now things happens! Bios missmatch! Now its dangerous, and I'm not as impressed anymore. One more wrong and things will be bricked, Now it's 50/50 .. HP or wuseman, who's right? It will not be a fourth time I know from past experience.

Fuck it, i´m to curios and since ages i know 4.2 seconds is the limit for break things as I said so I decided to try: 3.0 seconds while PC was ON running as normal....
after 3.0s I pull the AC and keep it off for 25 seconds.. The PC wont die itself so you must pull the AC
- REMOVE THE BATTERY BEFORE DOING THIS!

Leaving AC out and pressing power button for 25 seconds, gave life to the computer, damn now it flashes red and beeps every time the led flashes! According to the HP dev manual for what 3 x beeps + 3 red flashing indicates its the CPU or GPU. What the hell? It should be 4.2 seconds before it breaks on cpu, mem, motherboard, bios or gpu!
...After device is blinking red and fan had run at 10k rpm few times we finally have device booting, THUMBS UP! HP's manuals sucks! ;-)


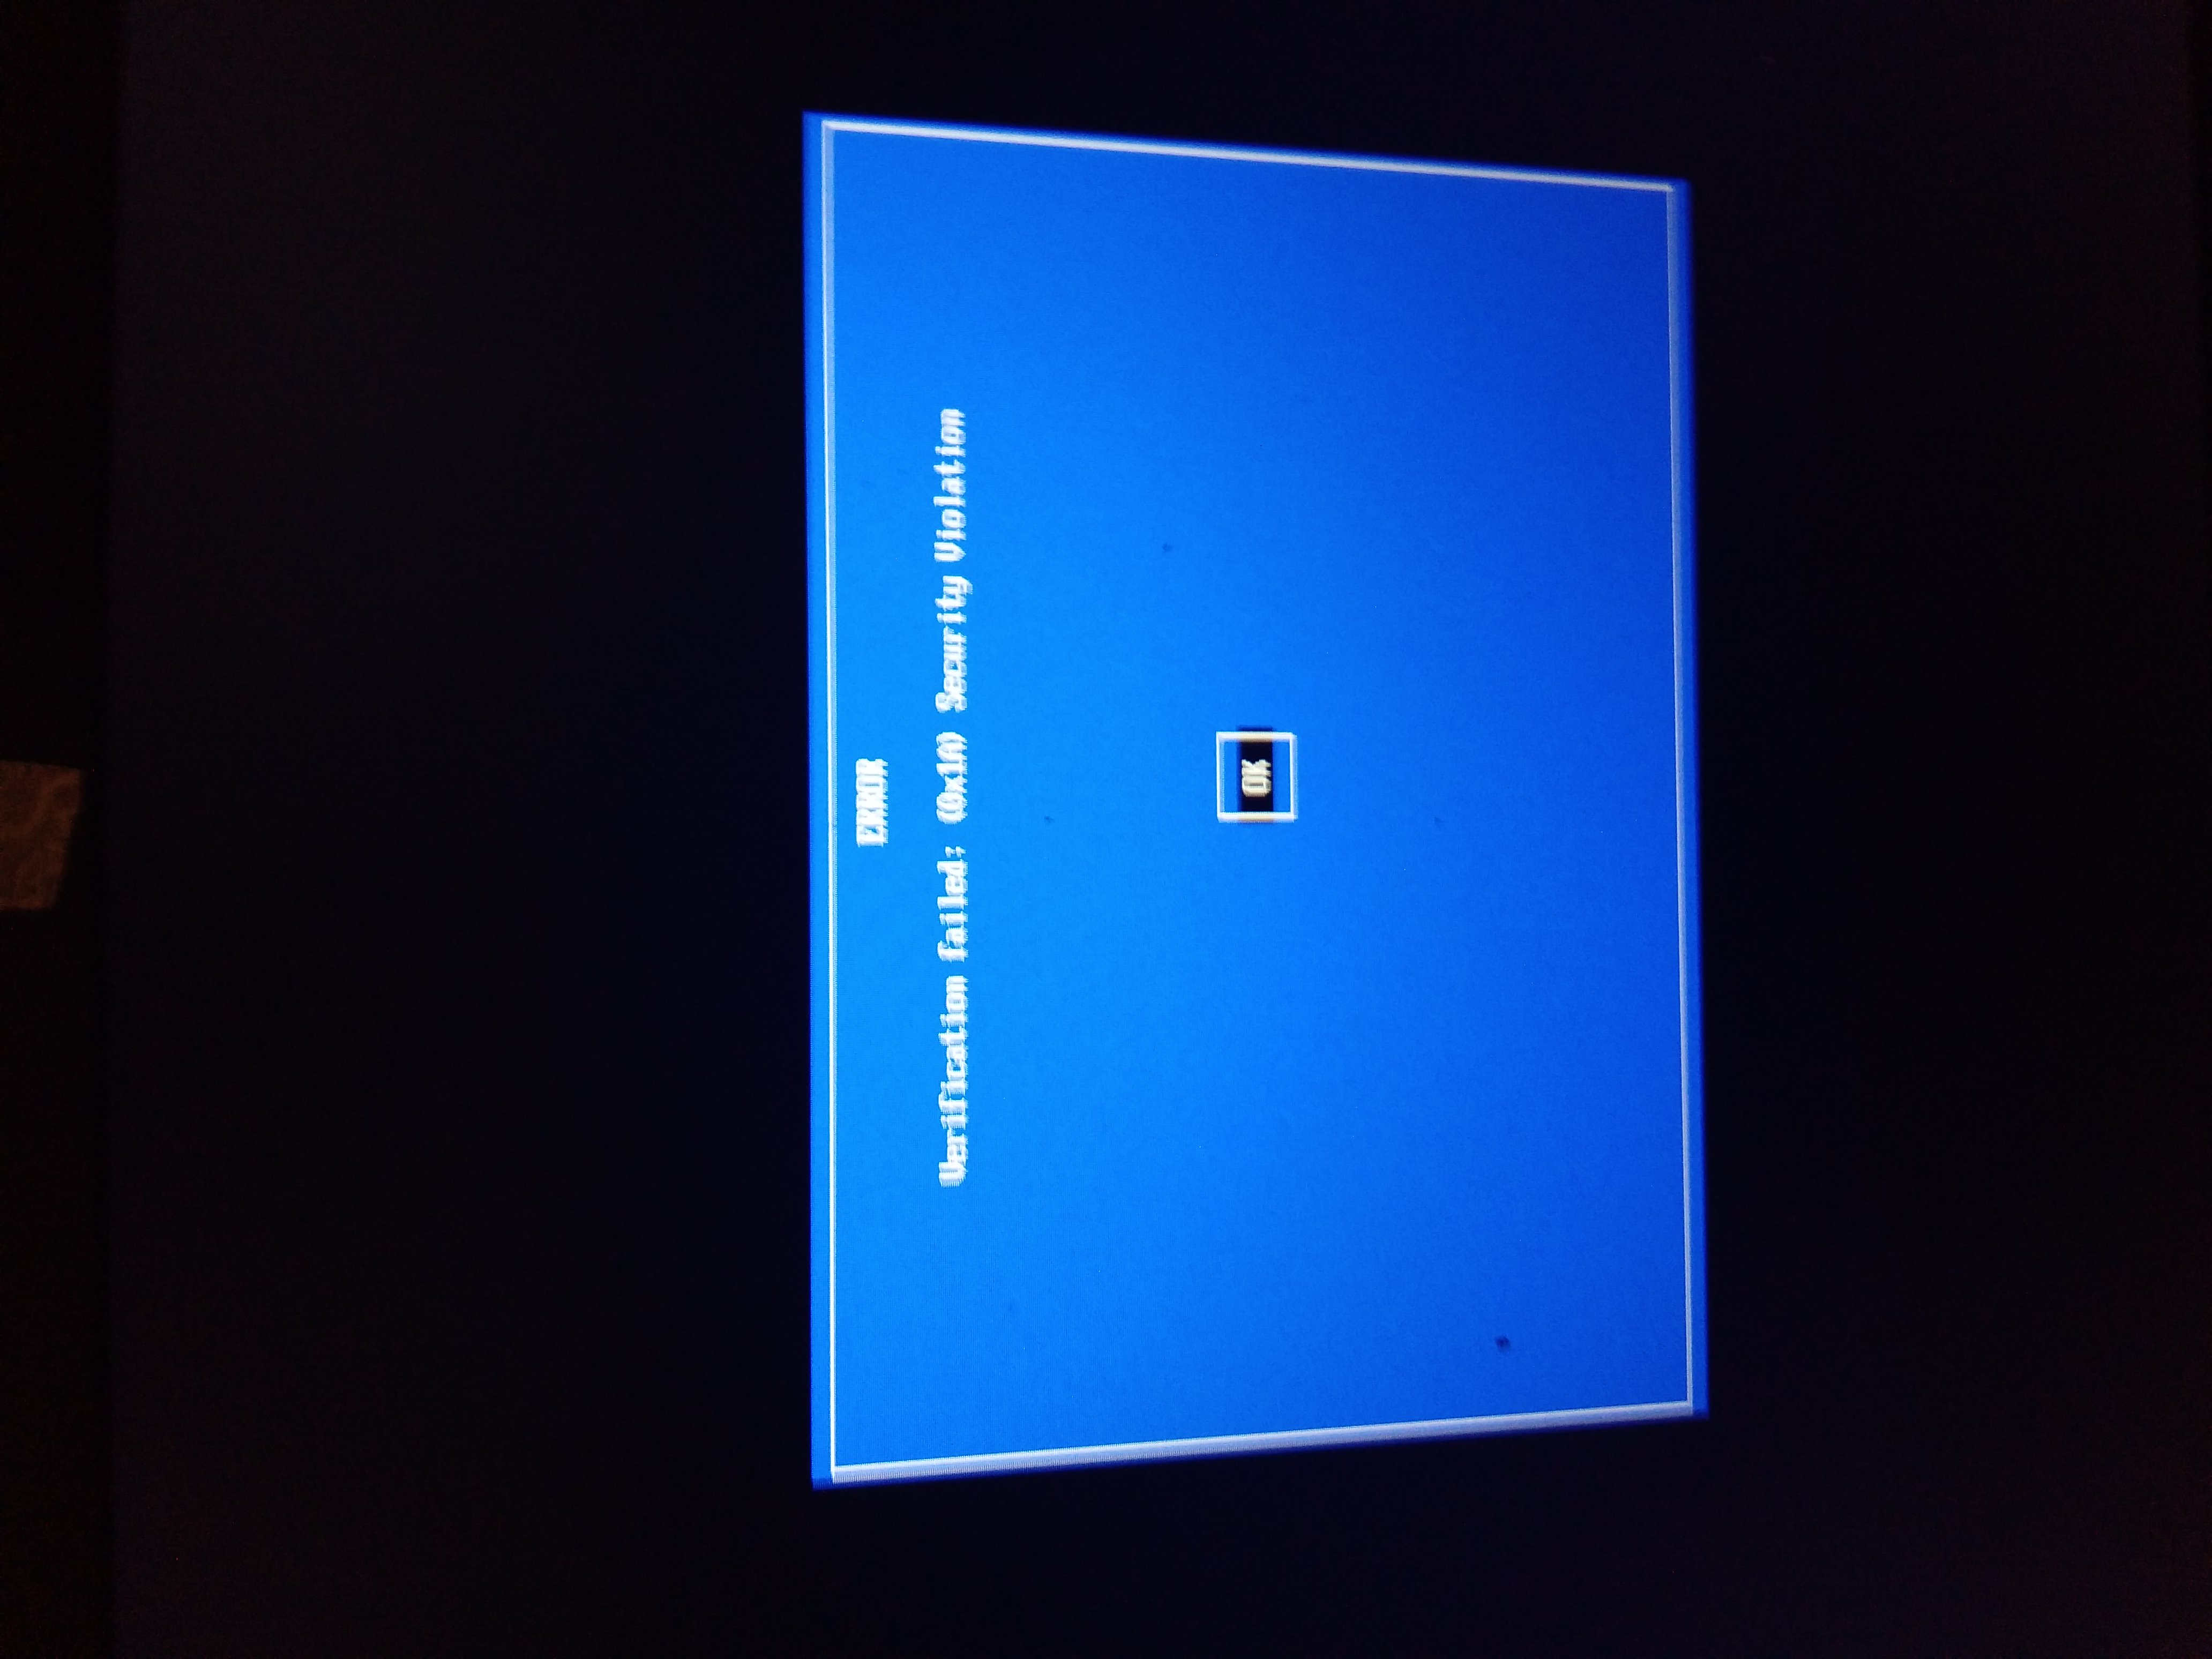
Device reboots after a while and reading bios up to 16M will start and finally you will see the below screen.


After the shortcuit and few reboot, it was time to enter bios and see if its password protects!! IT IS GONE!

- Worlds most secured BIOS that has hardware protection was "hacked" in ~3.0 second! We are now able to take over windows also! (will be added later)
- The only question I have to HP is, did you never try this?
- Do you now understand why I want to have a technical analysis for your tests? You talk about losses, re-start by showing your winnings based on false advertising instead.
- You are a scam and fooling your customers with fabricated statistics! Fuck you!
- If HP's bios is the most secure bios in the world that will protect the companies from hackers incl. tpm protections and keys and keep the real black hats away from private data then it's just as true that I'm sitting on the planet "Jupiter" and writing this, there are no laws and rules here so therefore I do not break any laws and rules here, ezi! .. Idiots ...
- *In hps advertising, they are the bad guys, and I the wolf hence the banner! Fuck you HP ... This is just the first part, I will update this repo with MORE proofs of your lies, next up is laptops followed by printers. Stay tuned!
There is another switch on the motherboard, its not easy to find and the switch is not available wiht chassi closed


I Really recommends to use a ´better clip then the cheap ones, spend some money for a 3M clip ~20-30€, the chip black ones from china sucks as hell! After 2-3 grabs it's not possible to grab the clip anymore. (probably thats why they sell those clips in 4-6xPackets on amazon - DONT BUY THOSE!!! >See yourself below after FEW grabs, it destroys the chip after few times)


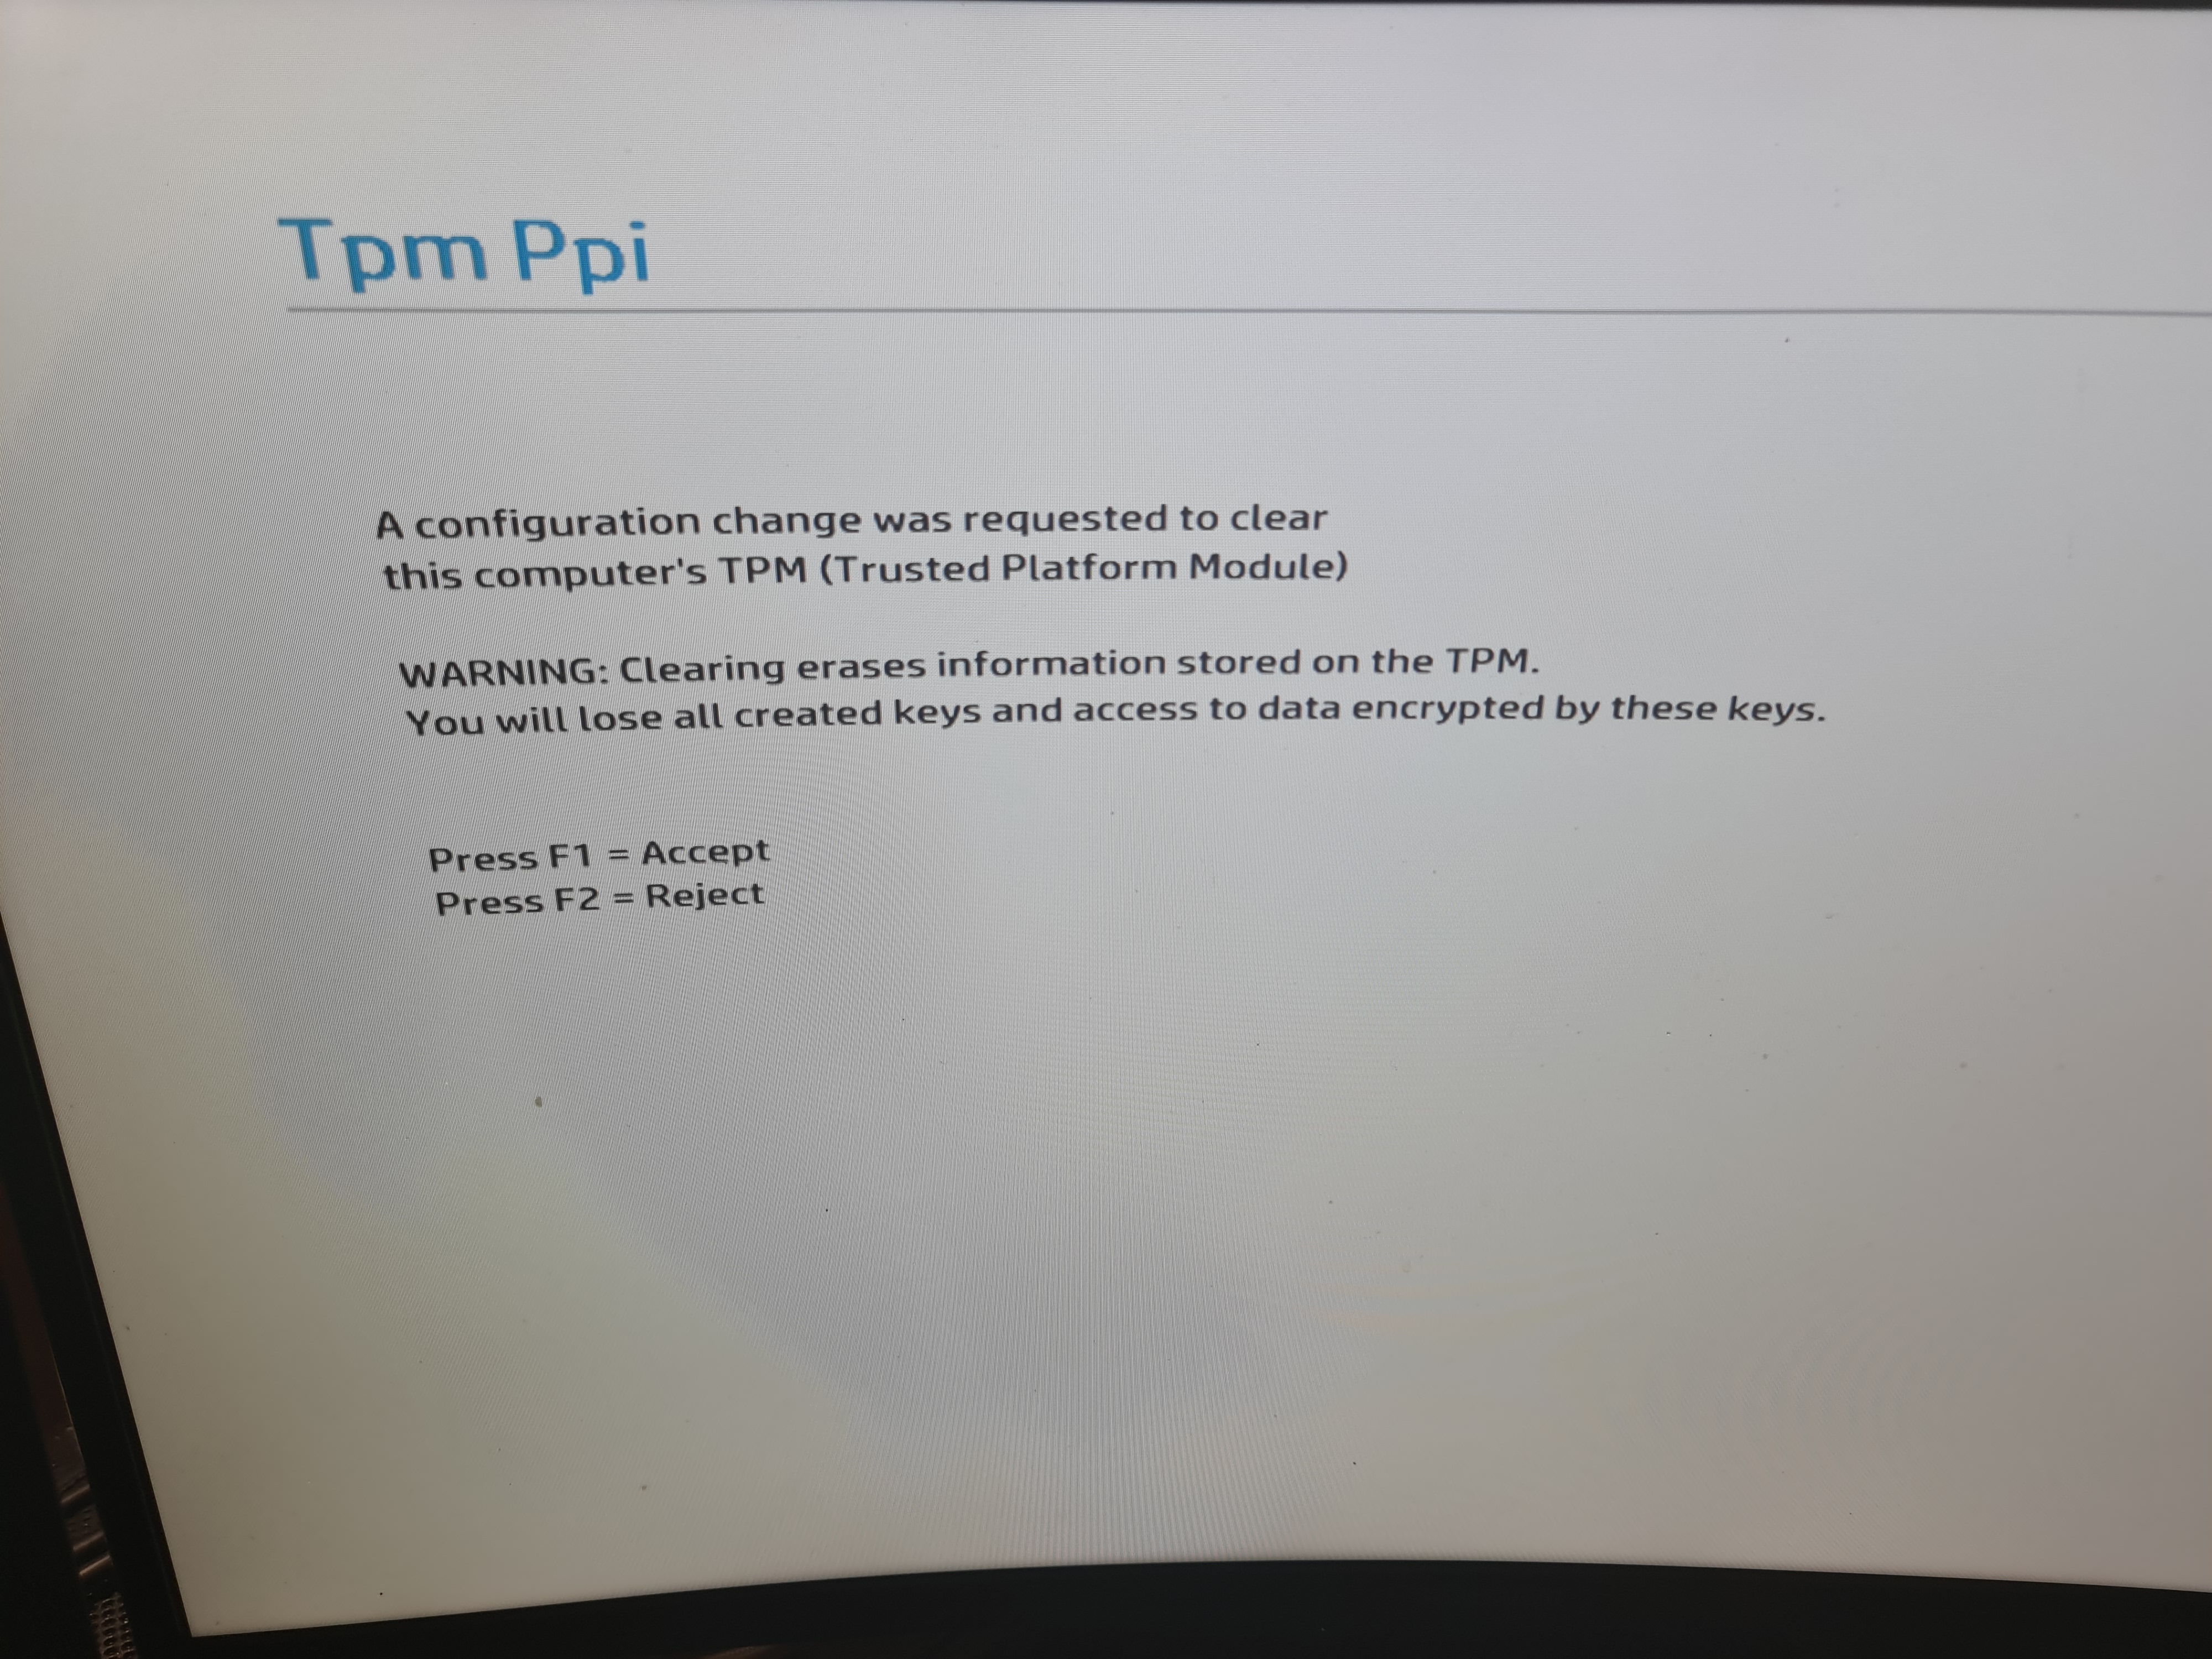
Followed by reset all security featrures, not eve theft protection will help the owner, we can permanent disable this (permanent is not permanent as forever, we can rewrite the chip ofc)

If you got problems with system recovery via F11 and bios gonna say there is a problem with manifest as: "error finding valid manifest" do as below (this problem was a mess with my Elitebook 870 G3 to figure out and solve, hp now have a help part for this for several models on their site, not all devices are affected - Visit hp for more info if needed)

- Do not initiate a Preboot network enabled feature when the computer is on low battery power.
- Avoid pressing the power button.
- Do not use the CTRL+ALT+DEL key combination to restart the computer while a download or upload is in progress.
- To work around this issue, perform the following steps to reset the IPv4 configuration:
1. Power on the computer.2. Press F3 to enter the 3rd Party Option ROM Management menu.3. Navigate to Network Device List -> MAC:xx:xx:xx:xx:xx:xx -> IPv4 Network Configuration.4. Uncheck Configured.5. Select Save Changes and Exit.I don't know if I will add this part here yet but upload your bios dump to any of the forums and I will help you or someone else will do,
I am active there too for this stuff. Please dump the right file and not the firmware file from EFI file.
If you really don't know what im talking about, find me on irc and I will remove the password for you, for free, dont pay for things you don't need ;)
Cheers!
DOwnload the bios for your device @hp.com extract the .exe file:
7x x spXXXXX.exemkdir -p /boot/EFI/HP/BIOS/{New,Previous,Old,Current,Temp}
mount /dev/bootPartiton /bootcp spXXXXX.exe/*.{bin,ini} /boot/EFI/HP/BIOS/New
unmount /boot/
rebootNow, enter F9 and choose to boot from ifle, choose the correct file.
Bios will now upgrade
After you moved the correct file to New path on boot partition
Turn off PC, while you holding win+b press power button for 2 seconds, release the power button but keep press win+b
Bios upgrade should now start.

Happy Upgrading!
Belive it or not. You maybe thought it was just luck what I was trying, as I did. So i decided to ask a friend to try in his PC as well. See the result below, brand new laptop:
I wont add all pictures again, i will show you the really needed pictures otherwise you can follow the same step as above its the same story for elitebooks with the latest bioses that is self-healing (really latest models only)
So .. Short circuit trick is dangerous but I wanted to confirm this for Elitebooks also.. It's no coincidence, it's wuseman power.. nah is not, its because HP fucking sucks! I guess they spent billions of dollars in their ads and their bios is hacking by short cuiiting their bios chip and then we dont even need to fix it, it healing itself! This has to be the dumbest thing I've ever been through. As I said, it also works on elitebook! Same legs from my view, same seconds (3.0seconds) on a different chip, i toke some picture on it with my microscope. See below, no descriptions will be added unless its something I really wanna share since its the same story as above dangerous method. there is fucking expensive clips for WSON chips for ~100-300$, these. If you are careful enough, you can do the same as me, otherwise you have to take the heat gun and solder and stuff.
Same as above but on the elitebook i was able to take a picture, this is how it looks after we boots first time when device has been acting as the elitedesk
- Didnt start
- Caps lock led + numlock led was flashing 7 times ( i will add a video later i cant find it now )
- fan runs at 10k rpm or something, rebooting and doing this for few times and we now got into this screen:

This never happened on elitedesks only on elitebook, I guess thats cause the software and efi can't communicate anymore since the bios was erased and now healed


Device that was hacked in 3.0 seconds and I confirmed the same shit works on this healing bios. But i don't recommending anyone to try, use the safe method otherwise you may get a broken cpu,gpu,mem,motherboard or anything:

- WIFI REQUIRED SINCE THERE IS NO ETHERNE INPUT ON THIS ONE


- 870 G3 chip is a Winbond 25Q256JVEN 2111 6048 CZ900
- Tested my new microscope usb, not perfect photos but it was the first time I used it :P


- Other chips for test the microscrope, they pretty good.

Now we have a valid license and activated Windows 10 from stock, now go reinstall firmware and get the hell out of Windows (nah, we must run some stuff here before we do that, i will add how we gonna take over TPM later)

Recommended, safe way. Follow the same steps as on elitedesk but you need either a modded clip or a wson programmer, here is my modded one.


- Enjoy!
The Short CIRCUIT will NOT work on this device!!! Use your programmer to dump bios and remove the password with prefered hexedit tool and write it back to device without the the bios password, its now fully unlocked! =D
My modded custom clip grabbed this one aswell, you must have the pins outside the clip as on my picture the above for being able to touch the solder from the pins on the board since there is no legs, if you using a default clip it will just grab the black area and it will probably end like the picture below. See the zoomed version what happens with a non-modded / wson clipper (this is for avaoid soldering, that´s boring rly)


.. If you get your clip working, there is better and more serious custom made SOP WSON SOIC VSOP SPI FLASH 8P 1.27mm on stores online, below is the modded ones from stores. Normal price on amazon is ~100-300$ but some stores in asia sell them for ~40$ - I would recommend a such one instead, its rly cool works on ALL 4x2 chips and you wont need solder anymore, connect it to your programmer or ardunio and start hack the bios dump..


I have nothing more to add here, programmer required here and if you short circuit this and think you will succeed, I can promise you, you wont! Already failed on ~2 few years ago and no new bios has been released so just buy a programmer and do it the proper way, but if you really wanna try - Go for it, i don't care and don't ask me for help about this model. Its old and and sucks!
Cheers
This is only needed if you short circuited the bios, otherwise you can fix this in bios settings under security.
If you short cuited the chip, the output from below command will be alot of wierd text and looks like a mess.
Get-HPSecurePlatformStateIt should be like:
State             : NotConfigured
Version           : 1.0
Nonce             : 0
FeaturesInUse     : None
EndorsementKeyMod : {0, 0, 0, 0...}
SigningKeyMod     : {0, 0, 0, 0...}
For fix this, please see below (it will works if your output is messed up as well, i never saved the output but you will understand what I mean if you get there and typing the command above) - You also needs HP Sure Admin and HP Recovery from HP's download page (will add urls later, search on hp and you will find for now)
openssl req -x509 -nodes -newkey rsa:2048 -keyout key.pem -out cert.pem -days 3650 -subj "/C=US/ST=State/L=City/O=Company/OU=Org/CN=www.example.com"

openssl pkcs12  -inkey key.pem -in cert.pem -export -keypbe PBE-SHA1-3DES -certpbe PBE-SHA1-3DES -out kek.pfx -name "HP Secure Platform Key Endorsement Certificate"  -passout pass:test

openssl req -x509 -nodes -newkey rsa:2048 -keyout key.pem -out cert.pem -days 3650 -subj "/C=US/ST=State/L=City/O=Company/OU=Org/CN=www.example.com"

openssl pkcs12 -inkey key.pem -in cert.pem -export -keypbe PBE-SHA1-3DES -certpbe PBE-SHA1-3DES -out sk.pfx -name "HP Secure Platform Signing Key Certificate" -passout pass:test
New-HPSecurePlatformEndorsementKeyProvisioningPayload -EndorsementKeyFile .\kek.pfx -EndorsementKeyPassword test `
| Set-HPSecurePlatformPayload
New-HPSecurePlatformSigningKeyProvisioningPayload -EndorsementKeyFile .\kek.pfx -EndorsementKeyPassword test `
-SigningKeyFile .\sk.pfx -SigningKeyPassword test | Set-HPSecurePlatformPayloadNow please check again :
State             : ProvisioningInProgress
Version           : 1.0
Nonce             : 1581536418
FeaturesInUse     : None
EndorsementKeyMod : {236, 247, 128, 76...}
SigningKeyMod     : {194, 160, 105, 233...}
So this is about it, when working with Secure Platform Management. To view any associated logs, you can use the Get-HPFirmwareAuditLog function. The last thing you may want to do is deprovision. For this, you will need the endorsement key:
New-HPSecurePlatformDeprovisioningPayload -EndorsementKeyFile .\tests\testdata\nopw\kek.pfx `
-EndorsementKeyPassword test   | Set-HPSecurePlatformPayload
SPM with HPCMSL in the Enterprise
So how would you plug HPCMSL in your enterprise to manage SPM? The solution is meant to be management console agnostic, so whether you use SCCM, Intune, Ivanti, or whatever else, these are the basic steps:
- Install HPCMSL in a secure location, and place your certificates here.
- Also Install HPCMSL on your managed clients
- In the secure location, use HPCMSL to generate a secure payload, as described above, using one of the New-* functions.
- Copy this secure payload to your clients via your process of choice. Do not copy your certificates.
- On your clients, apply the payload generated in 3. above, via the Set-HPSecurePlatformPayload function.
All commands can be found here:
Please visit flashrom for more info if you are a newbie, dont guess anything before you trying. If possible, try on something else that may not brick your PC before you trying on your real pc if you are new in this world:
Wel well, download flashrom (i prefer install things from the source and not via package manager with this kind of tools)
wget https://download.flashrom.org/releases/flashrom-v1.2.tar.bz2 wget https://download.flashrom.org/releases/flashrom-v1.2.tar.bz2.asc
You should next verify that the key's full fingerprint matches that listed on the flashroms website:
gpg --verify ... you should know this
awk '/SHA512 HASH/{getline;print}' flashrom-v1.2.tar.bz2.asc | sha512sum --check
flashrom-v1.2.tar.bz2: OK
flashrom-v1.2.tar.bz2.asc: OKtar -xvf flashrom-v1.2.tar.bz2
or if wanna skip the signature part, downaload and extract via stdin
wget -c https://download.flashrom.org/releases/flashrom-v1.2.tar.bz2 -O - | sudo tar -xjcd flashrom-v1.2
make -j$(nproc)If there is no errors, move on with make install and now, use your programmer, see available programmers via typing flashrom only and you will get all available programmers
Now lets continue
This is the The Secure/Recommended/Best way to erase the bios password by dump the current bios file, remove the password via prefered hexeditor, write the hacked dump without any password back to chip, voila - Done! Well, its not that easy maybe but follow below steps and everything will be fine :)
- Read Chip
flashrom -p ch341a_spi -r- Read and Backup*
flashrom -p ch341a_spi -r -o bios_elitebook_backup.binor
flashrom -p ch341a_spi -r > bios_elitebook_backup.binflashrom -p ch341a_spi -EYou don't need to remove the password from the bin file from a hexeditor, bios will "heal" itself.. Please try. If im wrong, just remove the password via hexedit (this will not be covered in this repo at the moment, will add a tutorial how you can do this without uploading your file for help later) and re-write the chip:
flashrom -p ch341a_spi -w hacked_bios_file_with_no_pw.binOn older bios versions, you must crack the password OR remove the password from bios file with a hexeditor
⚠ READ + SAVE YOUR BIOS BEFORE YOU ERASING IT IN CASE SOMETHING GOES WRONG!
Download NeoProgrammer v2.2.0.10 and put the clip on the chip, read bios for backup and then erase it, done!


On older bios versions, you must crack the password OR remove the password from bios file with a hexeditor and write the new bios file to the chip - You should know how to do this if you reading this.
Greetings to Jeff, all resepect!

... Alot more to be added very soon