Optimum Intel can be used to load optimized models from the Hugging Face Hub and create pipelines to run inference with OpenVINO Runtime without rewriting your APIs.
You can now easily perform inference with OpenVINO Runtime on a variety of Intel processors
(see the full list of supported devices).
For that, just replace the AutoModelForXxx class with the corresponding OVModelForXxx class.
As shown in the table below, each task is associated with a class enabling to automatically load your model.
| Task | Auto Class |
|---|---|
text-classification |
OVModelForSequenceClassification |
token-classification |
OVModelForTokenClassification |
question-answering |
OVModelForQuestionAnswering |
audio-classification |
OVModelForAudioClassification |
image-classification |
OVModelForImageClassification |
feature-extraction |
OVModelForFeatureExtraction |
fill-mask |
OVModelForMaskedLM |
text-generation |
OVModelForCausalLM |
text2text-generation |
OVModelForSeq2SeqLM |
It is possible to export your model to the OpenVINO IR format with the CLI :
optimum-cli export openvino --model gpt2 ov_modelThe example above illustrates exporting a checkpoint from the 🤗 Hub. When exporting a local model, first make sure that you saved both the model’s weights and tokenizer files in the same directory (local_path).
When using CLI, pass the local_path to the model argument instead of the checkpoint name of the model hosted on the Hub and provide the --task argument. You can review the list of supported tasks in the 🤗 Optimum documentation. If task argument is not provided, it will default to the model architecture without any task specific head.
Here we set the task to text-generation-with-past, with the -with-past suffix enabling the re-use of the pre-computed key/values hidden-states use_cache=True.
optimum-cli export openvino --model local_path --task text-generation-with-past ov_modelTo export your model in fp16, you can add --weight-format fp16 when exporting your model.
Once the model is exported, you can load the OpenVINO model using :
from optimum.intel import OVModelForCausalLM

model_id = "ov_model"
model = OVModelForCausalLM.from_pretrained(model_id)
You can also load your PyTorch checkpoint and convert it to the OpenVINO format on-the-fly, by setting export=True when loading your model.
from optimum.intel import OVModelForCausalLM

model_id = "gpt2"
model = OVModelForCausalLM.from_pretrained(model_id, export=True)
model.save_pretrained("ov_model")You can load an OpenVINO hosted on the hub and perform inference, no need to adapt your code to get it to work with OVModelForXxx classes:
- from transformers import AutoModelForCausalLM
+ from optimum.intel import OVModelForCausalLM
  from transformers import AutoTokenizer, pipeline

  model_id = "helenai/gpt2-ov"
- model = AutoModelForCausalLM.from_pretrained(model_id)
+ model = OVModelForCausalLM.from_pretrained(model_id)
  tokenizer = AutoTokenizer.from_pretrained(model_id)
  pipe = pipeline("text-generation", model=model, tokenizer=tokenizer)
  results = pipe("He's a dreadful magician and")
See the reference documentation for more information about parameters, and examples for different tasks.
To easily save the resulting model, you can use the save_pretrained() method, which will save both the BIN and XML files describing the graph. It is useful to save the tokenizer to the same directory, to enable easy loading of the tokenizer for the model.
# Save the exported model
save_directory = "openvino_distilbert"
model.save_pretrained(save_directory)
tokenizer.save_pretrained(save_directory)You can also apply 8-bit or 4-bit weight quantization when exporting your model with the CLI by setting the weight-format argument to respectively int8 or int4:
optimum-cli export openvino --model gpt2 --weight-format int8 ov_modelThis will result in the exported model linear and embedding layers to be quantized to INT8 or INT4, the activations will be kept in floating point precision. This type of optimization allows reducing the footprint and latency of LLMs.
By default the quantization scheme will be assymmetric, to make it symmetric you can add --sym.
For INT4 quantization you can also specify the following arguments :
- The
--group-sizeparameter will define the group size to use for quantization,-1it will results in per-column quantization. - The
--ratioparameter controls the ratio between 4-bit and 8-bit quantization. If set to 0.9, it means that 90% of the layers will be quantized toint4while 10% will be quantized toint8.
Smaller group_size and ratio of usually improve accuracy at the sacrifice of the model size and inference latency.
You can also apply 8-bit quantization on your model's weight when loading your model by setting the load_in_8bit=True argument when calling the from_pretrained() method.
from optimum.intel import OVModelForCausalLM

model = OVModelForCausalLM.from_pretrained(model_id, load_in_8bit=True)
load_in_8bit is enabled by default for the models larger than 1 billion parameters.
To apply quantization on both weights and activations, you can use the OVQuantizer, more information in the documentation.
By default, OVModelForXxx support dynamic shapes, enabling inputs of every shapes. To speed up inference, static shapes can be enabled by giving the desired inputs shapes.
# Fix the batch size to 1 and the sequence length to 9
model.reshape(1, 9)
# Compile the model before the first inference
model.compile()
When fixing the shapes with the reshape() method, inference cannot be performed with an input of a different shape. When instantiating your pipeline, you can specify the maximum total input sequence length after tokenization in order for shorter sequences to be padded and for longer sequences to be truncated.
from datasets import load_dataset
from transformers import AutoTokenizer, pipeline
from evaluate import evaluator
from optimum.intel import OVModelForQuestionAnswering

model_id = "distilbert-base-cased-distilled-squad"
model = OVModelForQuestionAnswering.from_pretrained(model_id, export=True)
model.reshape(1, 384)
tokenizer = AutoTokenizer.from_pretrained(model_id)
eval_dataset = load_dataset("squad", split="validation").select(range(50))
task_evaluator = evaluator("question-answering")
qa_pipe = pipeline(
    "question-answering",
    model=model,
    tokenizer=tokenizer,
    max_seq_len=384,
    padding="max_length",
    truncation=True,
)
metric = task_evaluator.compute(model_or_pipeline=qa_pipe, data=eval_dataset, metric="squad")By default the model will be compiled when instantiating our OVModel. In the case where the model is reshaped or placed to another device, the model will need to be recompiled again, which will happen by default before the first inference (thus inflating the latency of the first inference). To avoid an unnecessary compilation, you can disable the first compilation by setting compile=False. The model can be compiled before the first inference with model.compile().
from optimum.intel import OVModelForSequenceClassification

model_id = "distilbert-base-uncased-finetuned-sst-2-english"
# Load the model and disable the model compilation
model = OVModelForSequenceClassification.from_pretrained(model_id, export=True, compile=False)
# Reshape to a static sequence length of 128
model.reshape(1,128)
# Compile the model before the first inference
model.compile()
To run inference on Intel integrated or discrete GPU, use .to("gpu"). On GPU, models run in FP16 precision by default. (See OpenVINO documentation about installing drivers for GPU inference).
# Static shapes speed up inference
model.reshape(1, 9)
model.to("gpu")
# Compile the model before the first inference
model.compile()It is possible to pass an ov_config parameter to from_pretrained() with custom OpenVINO configuration values. This can be used for example to enable full precision inference on devices where FP16 or BF16 inference precision is used by default.
model = OVModelForSequenceClassification.from_pretrained(model_id, ov_config={"INFERENCE_PRECISION_HINT":"f32"})Optimum Intel leverages OpenVINO's model caching to speed up model compiling on GPU. By default a model_cache directory is created in the model's directory in the Hugging Face Hub cache. To override this, use the ov_config parameter and set CACHE_DIR to a different value. To disable model caching on GPU, set CACHE_DIR to an empty string.
model = OVModelForSequenceClassification.from_pretrained(model_id, device="GPU", ov_config={"PERFORMANCE_HINT": "LATENCY", "CACHE_DIR":""})Sequence-to-sequence (Seq2Seq) models, that generate a new sequence from an input, can also be used when running inference with OpenVINO. When Seq2Seq models are exported to the OpenVINO IR, they are decomposed into two parts : the encoder and the "decoder" (which actually consists of the decoder with the language modeling head), that are later combined during inference.
To speed up sequential decoding, a cache with pre-computed key/values hidden-states will be used by default. An additional model component will be exported: the "decoder" with pre-computed key/values as one of its inputs. This specific export comes from the fact that during the first pass, the decoder has no pre-computed key/values hidden-states, while during the rest of the generation past key/values will be used to speed up sequential decoding. To disable this cache, set use_cache=False in the from_pretrained() method.
Here is an example on how you can run inference for a translation task using a T5 model and then export it to OpenVINO IR:
from transformers import AutoTokenizer, pipeline
from optimum.intel import OVModelForSeq2SeqLM

model_id = "t5-small"
model = OVModelForSeq2SeqLM.from_pretrained(model_id, export=True)
tokenizer = AutoTokenizer.from_pretrained(model_id)
translation_pipe = pipeline("translation_en_to_fr", model=model, tokenizer=tokenizer)
text = "He never went out without a book under his arm, and he often came back with two."
result = translation_pipe(text)

# Save the exported model
save_directory = "openvino_t5"
model.save_pretrained(save_directory)
tokenizer.save_pretrained(save_directory)

[{'translation_text': "Il n'est jamais sorti sans un livre sous son bras, et il est souvent revenu avec deux."}]Make sure you have 🤗 Diffusers installed.
To install diffusers:
pip install optimum[diffusers]Stable Diffusion models can also be used when running inference with OpenVINO. When Stable Diffusion models are exported to the OpenVINO format, they are decomposed into different components that are later combined during inference:
- The text encoder
- The U-NET
- The VAE encoder
- The VAE decoder
| Task | Auto Class |
|---|---|
text-to-image |
OVStableDiffusionPipeline |
image-to-image |
OVStableDiffusionImg2ImgPipeline |
inpaint |
OVStableDiffusionInpaintPipeline |
Here is an example of how you can load an OpenVINO Stable Diffusion model and run inference using OpenVINO Runtime:
from optimum.intel import OVStableDiffusionPipeline

model_id = "echarlaix/stable-diffusion-v1-5-openvino"
pipeline = OVStableDiffusionPipeline.from_pretrained(model_id)
prompt = "sailing ship in storm by Rembrandt"
images = pipeline(prompt).images
To load your PyTorch model and convert it to OpenVINO on the fly, you can set export=True.
model_id = "runwayml/stable-diffusion-v1-5"
pipeline = OVStableDiffusionPipeline.from_pretrained(model_id, export=True)
# Don't forget to save the exported model
pipeline.save_pretrained("openvino-sd-v1-5")
To further speed up inference, the model can be statically reshaped :
# Define the shapes related to the inputs and desired outputs
batch_size = 1
num_images_per_prompt = 1
height = 512
width = 512

# Statically reshape the model
pipeline.reshape(batch_size=batch_size, height=height, width=width, num_images_per_prompt=num_images_per_prompt)
# Compile the model before the first inference
pipeline.compile()

# Run inference
images = pipeline(prompt, height=height, width=width, num_images_per_prompt=num_images_per_prompt).images
In case you want to change any parameters such as the outputs height or width, you'll need to statically reshape your model once again.

Here is an example of how you can load an OpenVINO Stable Diffusion model with pre-trained textual inversion embeddings and run inference using OpenVINO Runtime:
First, you can run original pipeline without textual inversion
from optimum.intel import OVStableDiffusionPipeline
import numpy as np
model_id = "echarlaix/stable-diffusion-v1-5-openvino"
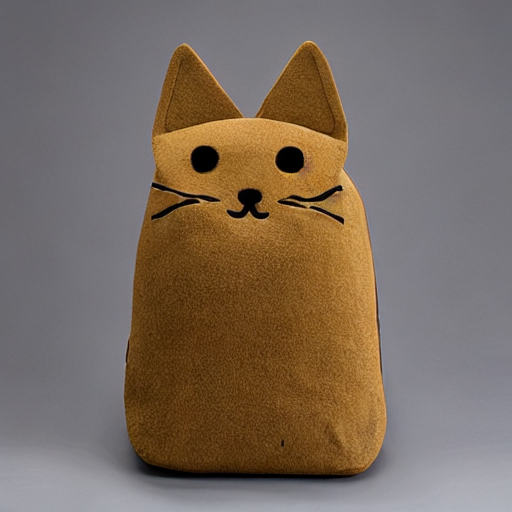
prompt = "A <cat-toy> back-pack"
# Set a random seed for better comparison
np.random.seed(42)
pipeline = OVStableDiffusionPipeline.from_pretrained(model_id, export=False, compile=False)
pipeline.compile()
image1 = pipeline(prompt, num_inference_steps=50).images[0]
image1.save("stable_diffusion_v1_5_without_textual_inversion.png")Then, you can load sd-concepts-library/cat-toy textual inversion embedding and run pipeline with same prompt again
# Reset stable diffusion pipeline
pipeline.clear_requests()
# Load textual inversion into stable diffusion pipeline
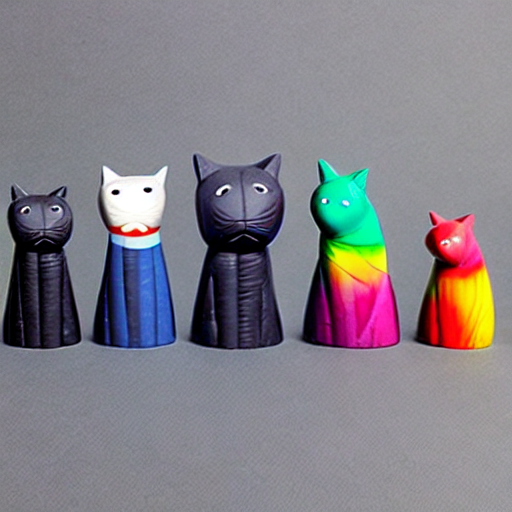
pipeline.load_textual_inversion("sd-concepts-library/cat-toy", "<cat-toy>")
# Compile the model before the first inference
pipeline.compile()
image2 = pipeline(prompt, num_inference_steps=50).images[0]
image2.save("stable_diffusion_v1_5_with_textual_inversion.png")The left image shows the generation result of original stable diffusion v1.5, the right image shows the generation result of stable diffusion v1.5 with textual inversion.
 |
 |
import requests
import torch
from PIL import Image
from io import BytesIO
from optimum.intel import OVStableDiffusionImg2ImgPipeline

model_id = "runwayml/stable-diffusion-v1-5"
pipeline = OVStableDiffusionImg2ImgPipeline.from_pretrained(model_id, export=True)

url = "https://raw.githubusercontent.com/CompVis/stable-diffusion/main/assets/stable-samples/img2img/sketch-mountains-input.jpg"
response = requests.get(url)
init_image = Image.open(BytesIO(response.content)).convert("RGB")
init_image = init_image.resize((768, 512))
prompt = "A fantasy landscape, trending on artstation"
image = pipeline(prompt=prompt, image=init_image, strength=0.75, guidance_scale=7.5).images[0]
image.save("fantasy_landscape.png")| Task | Auto Class |
|---|---|
text-to-image |
OVStableDiffusionXLPipeline |
image-to-image |
OVStableDiffusionXLImg2ImgPipeline |
Here is an example of how you can load a SDXL OpenVINO model from stabilityai/stable-diffusion-xl-base-1.0 and run inference using OpenVINO Runtime:
from optimum.intel import OVStableDiffusionXLPipeline

model_id = "stabilityai/stable-diffusion-xl-base-1.0"
base = OVStableDiffusionXLPipeline.from_pretrained(model_id)
prompt = "train station by Caspar David Friedrich"
image = base(prompt).images[0]
image.save("train_station.png")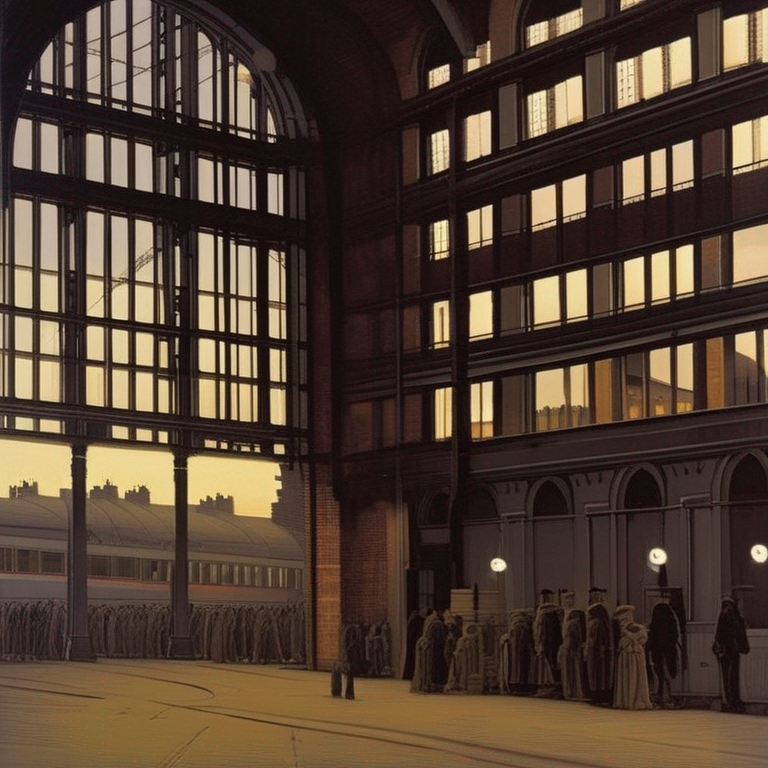 |
 |
Here is an example of how you can load an SDXL OpenVINO model from stabilityai/stable-diffusion-xl-base-1.0 with pre-trained textual inversion embeddings and run inference using OpenVINO Runtime:
First, you can run original pipeline without textual inversion
from optimum.intel import OVStableDiffusionXLPipeline
import numpy as np
model_id = "stabilityai/stable-diffusion-xl-base-1.0"
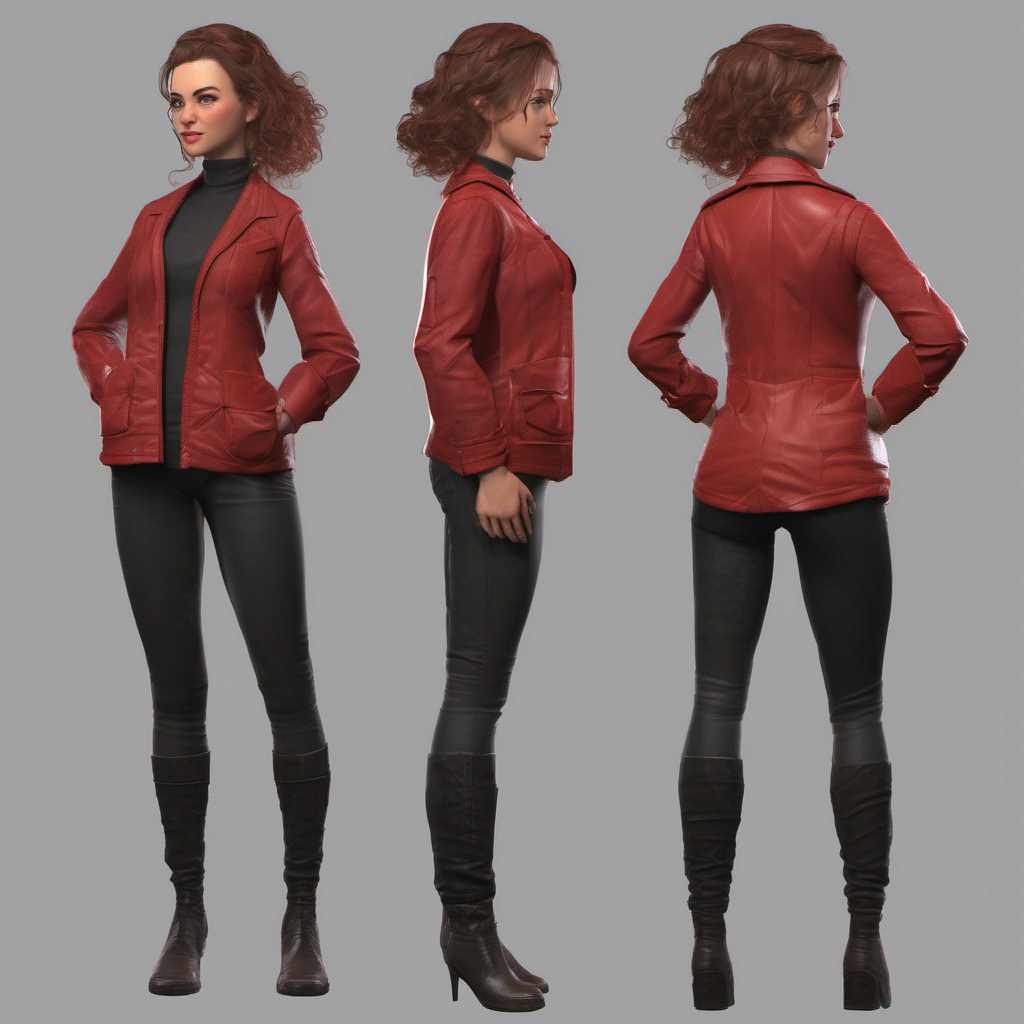
prompt = "charturnerv2, multiple views of the same character in the same outfit, a character turnaround of a beautiful woman wearing a red jacket and black shirt, best quality, intricate details."
# Set a random seed for better comparison
np.random.seed(112)
base = OVStableDiffusionXLPipeline.from_pretrained(model_id, export=False, compile=False)
base.compile()
image1 = base(prompt, num_inference_steps=50).images[0]
image1.save("sdxl_without_textual_inversion.png")Then, you can load charturnerv2 textual inversion embedding and run pipeline with same prompt again
# Reset stable diffusion pipeline
base.clear_requests()
# Load textual inversion into stable diffusion pipeline
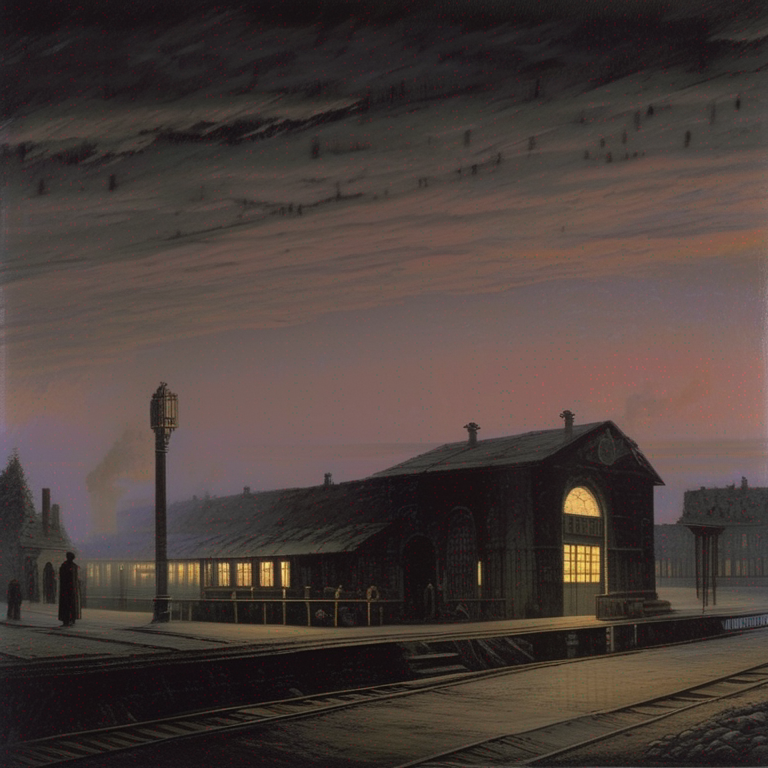
base.load_textual_inversion("./charturnerv2.pt", "charturnerv2")
# Compile the model before the first inference
base.compile()
image2 = base(prompt, num_inference_steps=50).images[0]
image2.save("sdxl_with_textual_inversion.png")
The left image shows the generation result of the original SDXL base 1.0, the right image shows the generation result of SDXL base 1.0 with textual inversion.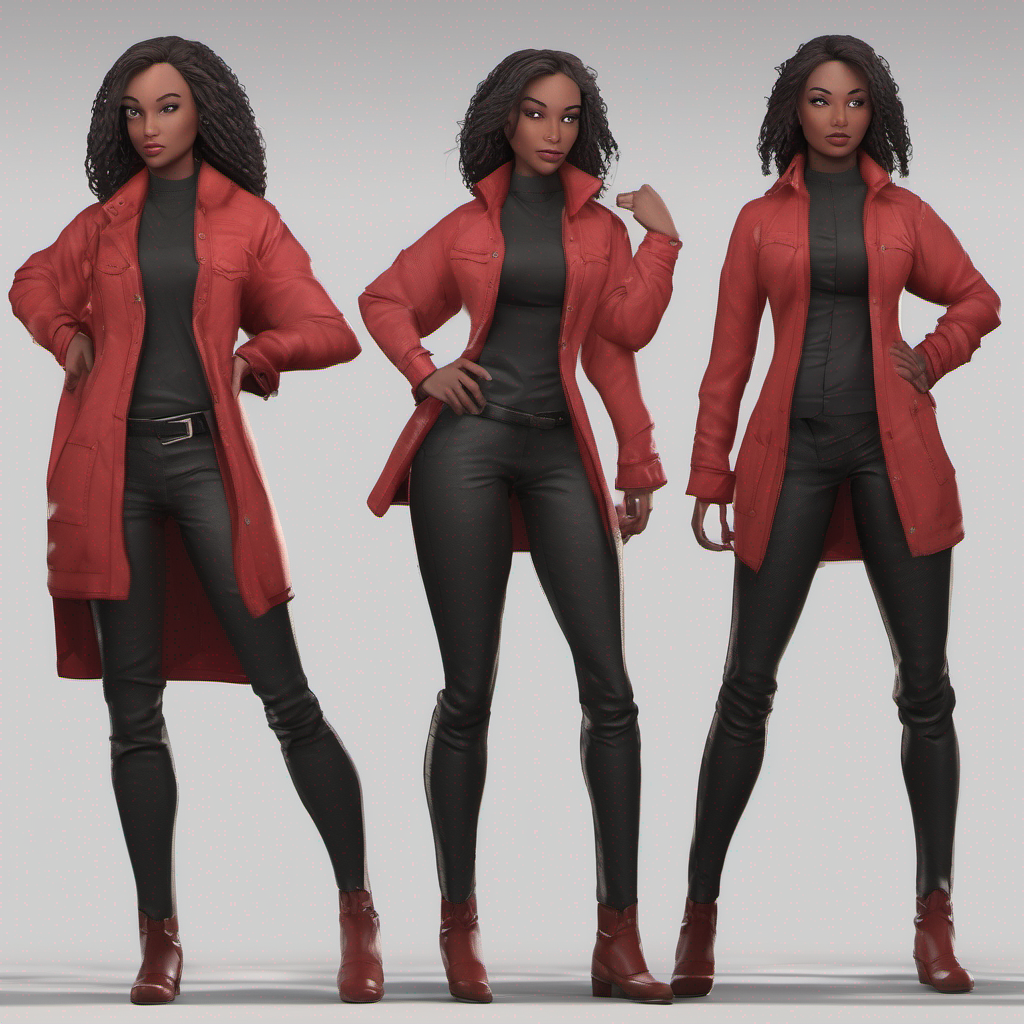 |
 |
Here is an example of how you can load a PyTorch SDXL model, convert it to OpenVINO on-the-fly and run inference using OpenVINO Runtime for image-to-image:
from optimum.intel import OVStableDiffusionXLImg2ImgPipeline
from diffusers.utils import load_image

model_id = "stabilityai/stable-diffusion-xl-refiner-1.0"
pipeline = OVStableDiffusionXLImg2ImgPipeline.from_pretrained(model_id, export=True)

url = "https://huggingface.co/datasets/optimum/documentation-images/resolve/main/intel/openvino/sd_xl/castle_friedrich.png"
image = load_image(url).convert("RGB")
prompt = "medieval castle by Caspar David Friedrich"
image = pipeline(prompt, image=image).images[0]
# Don't forget to save your OpenVINO model so that you can load it without exporting it with `export=True`
pipeline.save_pretrained("openvino-sd-xl-refiner-1.0")The image can be refined by making use of a model like stabilityai/stable-diffusion-xl-refiner-1.0. In this case, you only have to output the latents from the base model.
from optimum.intel import OVStableDiffusionXLImg2ImgPipeline

model_id = "stabilityai/stable-diffusion-xl-refiner-1.0"
refiner = OVStableDiffusionXLImg2ImgPipeline.from_pretrained(model_id, export=True)

image = base(prompt=prompt, output_type="latent").images[0]
image = refiner(prompt=prompt, image=image[None, :]).images[0]| Task | Auto Class |
|---|---|
text-to-image |
OVLatentConsistencyModelPipeline |
Here is an example of how you can load a Latent Consistency Models (LCMs) from SimianLuo/LCM_Dreamshaper_v7 and run inference using OpenVINO :
from optimum.intel import OVLatentConsistencyModelPipeline

model_id = "SimianLuo/LCM_Dreamshaper_v7"
pipeline = OVLatentConsistencyModelPipeline.from_pretrained(model_id, export=True)
prompt = "sailing ship in storm by Leonardo da Vinci"
images = pipeline(prompt, num_inference_steps=4, guidance_scale=8.0).images